
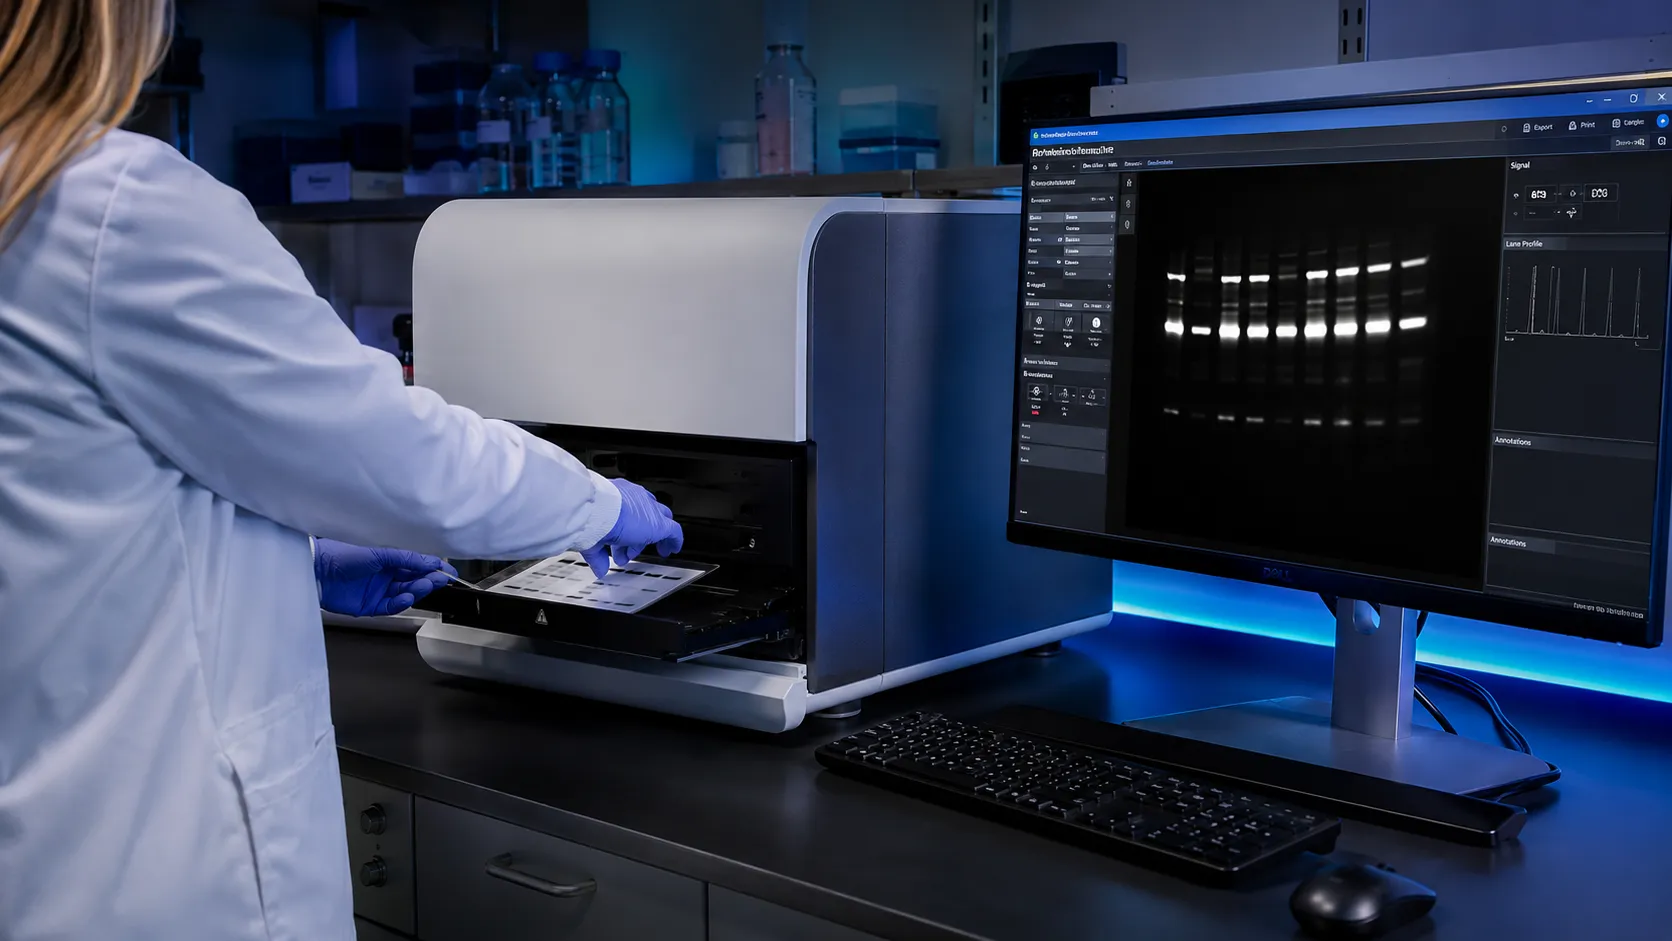
This guide is divided into two practical parts. The first part explains the technical principles behind high-sensitivity chemiluminescence gel imaging. The second part focuses on AELAB gel imaging systems, product comparison, and buying guidance for laboratories planning a purchase or upgrade in 2026.
What Actually Determines the Right Choice
Choosing a gel imaging system for chemiluminescence is not a simple matter of comparing camera resolution or price. The right instrument depends on the sensitivity you truly need, the reproducibility demanded by your applications, and how well the system integrates into your existing workflow. Many labs focus solely on camera megapixel count, but that number is almost meaningless without the right sensor cooling, low-noise electronics, optimized optics, and software algorithms designed for chemiluminescent signals.
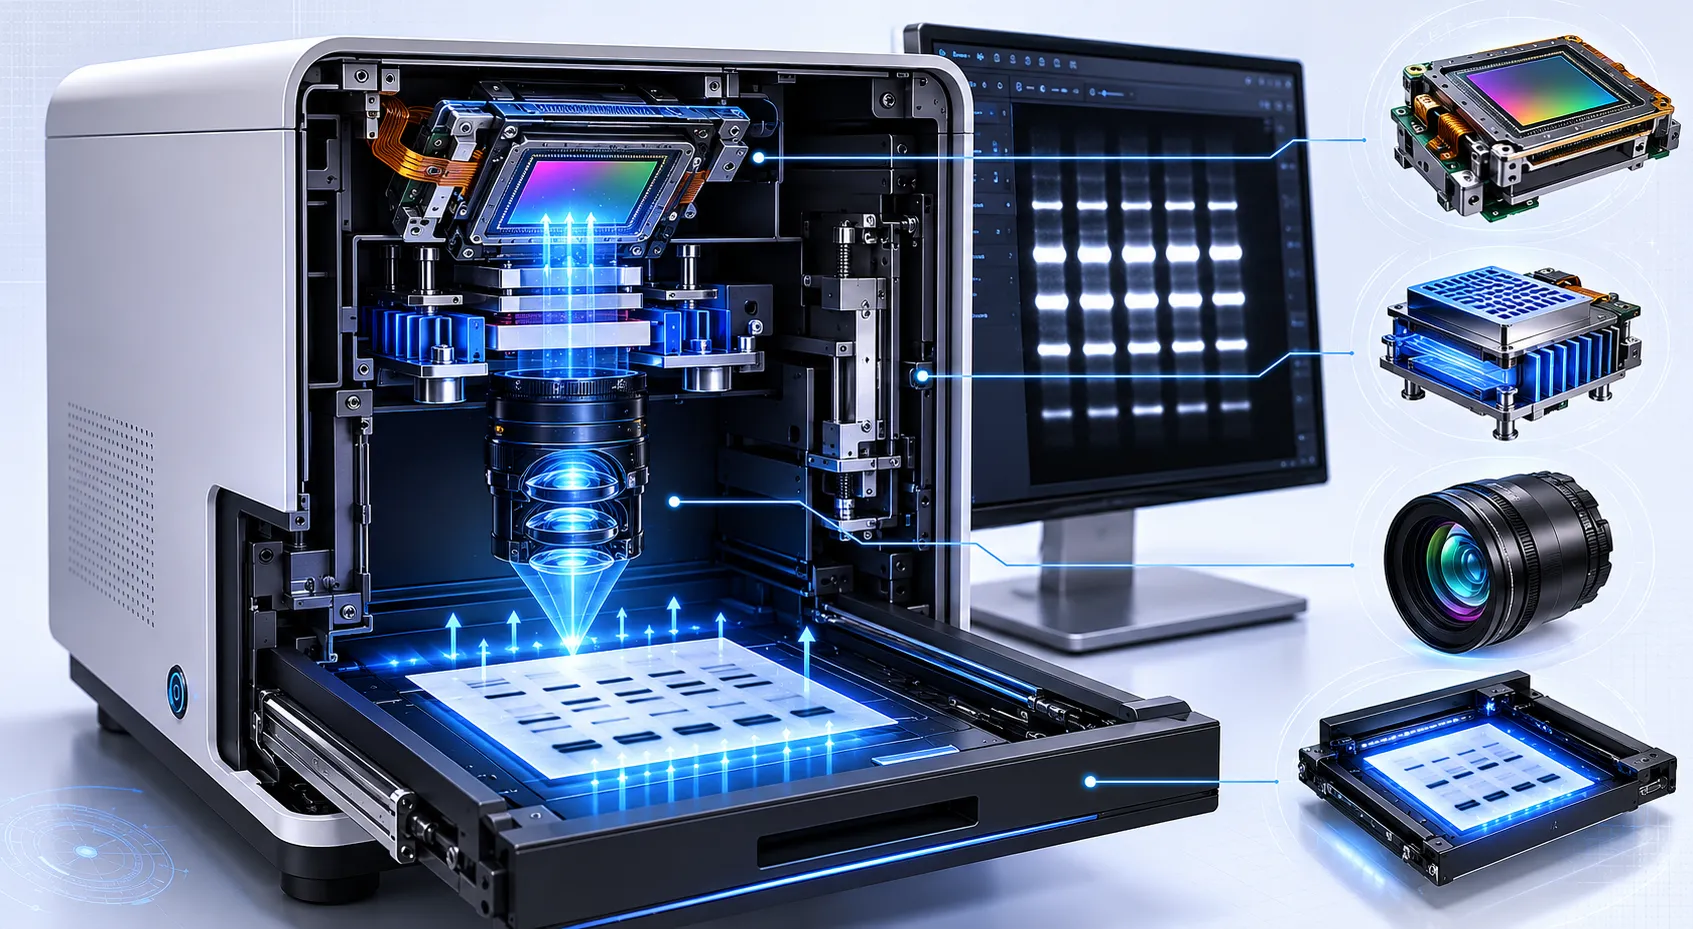
Start by defining the weakest signal you must detect. In western blotting, a faint band from a low-abundance protein may require capturing only a small number of photons per pixel. The system’s quantum efficiency at the wavelengths relevant to your chemiluminescent substrate, typically around 425–475 nm for enhanced luminol reactions, combined with read noise and dark current, defines baseline sensitivity. A cooled CCD or sCMOS sensor with low dark current at operating temperature is more important for real-world performance than resolution alone.
Equally critical is the optical path. A fast, high-transmission lens coupled with a large sensor pixel size improves light collection. Automated lens control, stable focusing, and flat-field correction help prevent edge vignetting, which can create false signal drop-offs near gel or membrane edges. For laboratories working with weak western blot signals, this optical stability can determine whether faint bands are detected or missed entirely.
Another key factor is dynamic range. Chemiluminescent signals may include very strong bands and extremely faint bands in the same image. A system must preserve strong signals without saturation while still capturing weak targets. This requires proper exposure control, 16-bit image capture, effective gain management, and software that allows both automatic and manual optimization.
What Matters More Than the Spec Sheet
Specifications tell only half the story. How the system handles dynamic range, image alignment, file management, exposure repeatability, and export quality often decides whether it becomes a reliable laboratory workhorse or a source of frustration. In chemiluminescence imaging, signal can span several orders of magnitude. A 16-bit analog-to-digital converter is important, but without proper gain staging, cooling, binning options, and raw data preservation, faint signals may still be lost.
Pixel binning is one example. By combining adjacent pixels during readout, binning increases effective signal-to-noise ratio at the expense of spatial resolution. For many gel and blot applications, 2×2 binning can provide a practical balance between sensitivity and image detail. A system that offers selectable binning gives users flexibility to optimize for speed, sensitivity, or resolution depending on the application.
Software is just as important as hardware. An automated gel documentation system should provide clear acquisition settings, image annotation, report generation, raw image export, and controlled data handling. Laboratories working under GLP, cGMP, or regulated pharmaceutical environments may also need user access control, audit trail functionality, electronic signatures, and compatibility with documentation requirements.
Many images become less useful because the software cannot export raw, uncompressed 16-bit TIFF files. JPEG compression, automatic contrast adjustment, and uncontrolled image enhancement can obscure faint bands or introduce artifacts that affect quantification. For serious scientific documentation, raw image preservation is not optional.
Operator Note: I have seen labs reject perfectly good images because the default image viewer applied an automatic contrast stretch, making the background look noisy. Always verify images in the system’s native software and preserve the raw file before making decisions.
Before You Start the Workflow
A high-sensitivity gel imaging system only performs as well as the operator’s preparation. Chemiluminescence is especially susceptible to environmental light leaks, substrate autofluorescence, inconsistent incubation timing, and membrane handling errors. Establishing a reproducible workflow before routine use prevents most sensitivity complaints.
Start by dark-checking the imaging chamber. Close the door and acquire a series of long exposures, such as 1, 5, and 10 minutes, with no sample inside. The resulting images should show no structured light pattern, bright edge leakage, or persistent hot spots beyond random sensor events. Any consistent pattern may suggest a light leak in the door seal, cable pass-through, filter area, or chamber joint.
Next, standardize substrate application and incubation. Inconsistent membrane wetting or localized enzyme depletion can make bands appear dimmer or broader, falsely suggesting poor system sensitivity. PVDF membranes should be prepared consistently, ECL substrate should be fresh, and timing from substrate addition to image capture should be controlled.
Finally, verify pixel calibration by imaging a known-size object such as a stage micrometer or calibrated ruler placed on the gel tray. This ensures that band distance, migration position, and size-related measurements remain accurate during analysis.
Where Most Labs Get This Wrong
Even experienced researchers often rely on assumptions that do not reflect how chemiluminescence imaging actually works. Recognizing these false assumptions early helps avoid costly purchasing errors and operational mistakes.
- False Assumption 1: “Higher camera resolution means better sensitivity.” In reality, a sensor with smaller pixels may collect fewer photons per pixel than a lower-resolution sensor with larger pixels. Sensitivity depends on signal-to-noise ratio per pixel, sensor cooling, quantum efficiency, dark current, and optical efficiency, not total pixel count alone.
- False Assumption 2: “Cooling the camera is always enough.” Cooling performance must be stable during actual long exposures. For low-abundance targets, temperature drift can increase dark current, hot pixels, and background noise. Always evaluate cooling stability under repeated imaging conditions.
- False Assumption 3: “Auto-exposure works for every blot.” Auto-exposure algorithms often protect the strongest signal from saturation, which may underexpose faint bands. Manual exposure optimization or region-of-interest based exposure can improve reproducibility.
- False Assumption 4: “A fluorescence imaging system will always perform well for chemiluminescence.” Fluorescence and chemiluminescence workflows have different optical requirements. Systems optimized for fluorescence may not provide the same low-light sensitivity unless they are properly designed for chemiluminescence.
- False Assumption 5: “The demo image proves real-world performance.” Vendor demonstration samples are often bright, clean, and optimized. Laboratories should test their own weak samples before making a purchasing decision.
Many of these mistakes come from evaluating instruments based on surface-level specifications or attractive screen images rather than testing the underlying hardware, software, and workflow under realistic conditions.
Which Symptoms Point to Environment, Setup, or Wear
When a previously reliable system starts producing subpar images, the root cause often lies not in complete instrument failure but in environmental changes, consumable degradation, optical contamination, or operator technique. Systematic troubleshooting saves time and prevents unnecessary service calls.
- Symptom: Gradual increase in background haze over weeks.
Likely cause: Accumulated dust on the camera sensor window, lens, gel tray, or protective optical surface.
Why it happens: In a dark chamber, scattered light from dust becomes visible during high-gain or long-exposure imaging.
Corrective action: Clean optical surfaces using appropriate lint-free materials and inspect the chamber interior.
Prevention: Schedule regular cleaning and keep the chamber closed when not in use. - Symptom: Faint bands are missing only in the corners of the image.
Likely cause: Lens vignetting, incorrect aperture setting, or disabled flat-field correction.
Why it happens: Light collection may fall off toward the edges of the imaging field.
Corrective action: Confirm flat-field correction, recalibrate if needed, and verify lens settings.
Prevention: Recheck calibration after moving the instrument or changing optical components. - Symptom: Sudden appearance of bright spots or hot pixels.
Likely cause: Sensor temperature drift, cooling instability, or increased dark current.
Why it happens: A weakened cooling system allows thermal noise to increase during long exposures.
Corrective action: Monitor sensor temperature logs and service the cooling module if it cannot hold the set point.
Prevention: Keep fans, vents, and filters clean and avoid placing the system in poorly ventilated spaces. - Symptom: Band intensity varies drastically between similar blots.
Likely cause: Inconsistent substrate incubation time, membrane drying, or uneven substrate distribution.
Why it happens: Chemiluminescence is enzymatic and time-sensitive.
Corrective action: Standardize incubation timing and image capture sequence.
Prevention: Use a strict workflow protocol for every blot. - Symptom: High background only on one side of the image.
Likely cause: Light leak from a door edge, gasket, cable path, or nearby external light source.
Why it happens: Even small ambient light leaks accumulate during long exposures.
Corrective action: Run a dark-frame test and identify the direction of the gradient.
Prevention: Keep the system away from windows, hallway lights, and direct fluorescent lighting. - Symptom: Image artifacts appear after binning.
Likely cause: Inappropriate sensor mode, software reconstruction artifact, or unsuitable color sensor behavior.
Why it happens: Some sensors and acquisition modes are not ideal for low-light monochrome chemiluminescence.
Corrective action: Use a monochrome sensor mode when available and validate binning settings.
Prevention: Specify chemiluminescence requirements clearly before purchase.

How the Right Choice Changes by Lab Type
The ideal gel imaging system varies substantially depending on your laboratory’s throughput, regulatory environment, application type, and target abundance. A one-size-fits-all recommendation ignores critical operational differences.
High-throughput core facilities need fast acquisition, reliable autofocus, standardized protocols, user-friendly software, and strong data management. Queue-based imaging and saved acquisition profiles can reduce operator time and improve consistency across users.
GLP and cGMP-regulated pharmaceutical laboratories require secure software environments, audit trails, controlled access, electronic records, and locked acquisition parameters. The ability to preserve raw files and document imaging conditions is essential.
Research laboratories studying low-abundance proteins need maximum sensitivity, stable cooling, long exposure capability, and low-noise image acquisition. Applications such as phosphorylation, ubiquitination, weak biomarker detection, and antibody validation benefit from systems optimized for chemiluminescence.
Teaching laboratories often prioritize ease of use, durability, quick imaging, and simple cleaning. These labs may not need the highest sensitivity but do need systems that can withstand frequent use by novice operators.
Biotechnology companies and service laboratories often need a balance between professional image quality, repeatable reporting, customer-facing documentation, and efficient daily operation. For these users, automation and software workflow are often as important as raw sensitivity.
AELAB Gel Imaging Systems for 2026 Applications
AELAB gel imaging systems can be positioned for different laboratory needs based on sensitivity, automation, application type, and workflow requirements. Instead of selecting only by price or model name, laboratories should first define their application priority and then match the system to that workflow.
The AELAB gel imaging product range supports different levels of chemiluminescence imaging, gel documentation, western blot analysis, and automatic image acquisition. For laboratories upgrading in 2026, the strongest purchase strategy is to identify whether the main requirement is high-sensitivity chemiluminescence, routine gel documentation, integrated analysis, or automated daily operation.
-
 AELAB AE-GEL Series All In One Gel Imaging Analysis SystemRead more
-
 AELAB AE-GEL100 / AE-GEL200 Automatic Gel Imaging and Analysis SystemRead more
-
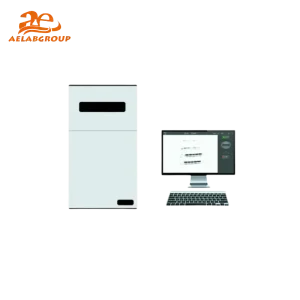 AELAB AE-GEL600 Chemiluminescence Gel Imaging System for High-Sensitivity Gel AnalysisRead more
-
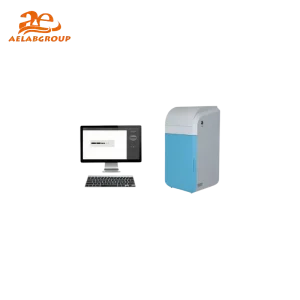 AELAB AE-GEL900 Chemiluminescence Imaging Analysis SystemRead more
AELAB Product Comparison and Buying Guidance
When comparing AELAB gel imaging systems, laboratories should separate technical needs from purchasing preferences. A system for advanced chemiluminescence detection should be evaluated differently from a system intended mainly for routine agarose gel documentation.
AELAB AE-GEL900 Chemiluminescence Imaging Analysis System is suitable for laboratories that need advanced chemiluminescence sensitivity, low-abundance target detection, western blot imaging, and professional analysis capability. It is a strong choice for research groups, pharmaceutical laboratories, and facilities where faint signals must be captured reliably.
AELAB AE-GEL600 Chemiluminescence Gel Imaging System is a practical option for laboratories that need strong chemiluminescence performance with efficient daily operation. It fits research laboratories and biotechnology teams that require sensitivity but also value workflow simplicity.
AELAB AE-GEL100 / AE-GEL200 Automatic Gel Imaging and Analysis Systems are suitable for routine gel documentation, automatic imaging, teaching laboratories, and daily molecular biology workflows. These systems are useful when ease of use, speed, and repeatability are more important than extreme low-light performance.
AELAB All-in-One Gel Imaging Analysis System is designed for laboratories that want integrated imaging and analysis in a unified platform. It is useful for labs seeking simplified workflow management, reduced user complexity, and efficient documentation.
Which AELAB System Should You Choose?
The best system depends on the laboratory’s application priority.
- Choose AE-GEL900 if your main goal is high-sensitivity chemiluminescence, weak western blot detection, low-abundance protein analysis, and advanced research imaging.
- Choose AE-GEL600 if you need reliable chemiluminescence imaging with a balance of sensitivity, usability, and daily workflow efficiency.
- Choose AE-GEL100 / AE-GEL200 if your laboratory focuses on routine gel documentation, automatic imaging, teaching workflows, and standard molecular biology applications.
- Choose the All-in-One AE-GEL system if your team wants a complete imaging and analysis workflow in a single integrated platform.
For purchasing teams, the most important question is not “Which model is the most expensive?” but “Which model matches the daily sample type, sensitivity requirement, operator skill level, and documentation expectation of the laboratory?”
A Practical Evaluation Path Before You Buy
Instead of relying solely on vendor demonstrations, use a hands-on evaluation workflow to stress-test candidate systems under your specific conditions.
- Prepare a standardized test blot: Use a commercial protein ladder and a dilution series of a known protein detected with a consistent chemiluminescent substrate. Include both strong and faint bands so the system can be tested across real signal levels.
- Request dark-current and flat-field verification: Before imaging your blot, acquire a long dark exposure at working gain. You should see no structured noise or light pattern.
- Image your blot using fixed exposure series: Start from short exposure times and increase gradually. Identify the longest exposure that avoids saturation while still revealing weak bands.
- Test auto-exposure with a user-defined ROI: Check whether the system can optimize exposure for the relevant band area instead of only protecting the brightest pixel.
- Evaluate software documentation and export: Confirm that the software can save raw 16-bit TIFF files, generate reports, preserve method parameters, and support your documentation needs.
- Check cooling stability: After repeated long exposures, verify that the sensor temperature remains stable. Temperature drift can indicate insufficient cooling performance.
- Assess physical ergonomics: Confirm that your gel or blot size fits easily, the chamber is easy to clean, and the door seals securely.
- Review after-sales support: A gel imaging system is a long-term laboratory investment. Service, training, application guidance, and maintenance support should be part of the buying decision.
Most evaluators start by imaging a bright sample and being impressed by the display image. That does not prove true sensitivity or long-term reliability. A realistic evaluation should test weak samples, long exposures, raw export, workflow speed, and software usability.
Do this next: Create a test blot using your own application conditions and compare AELAB models based on sensitivity, workflow compatibility, software needs, and purchasing budget.
How to Build a Better Purchasing Decision
A structured purchasing process helps prevent both overbuying and underbuying. Overbuying happens when a lab pays for advanced features it will rarely use. Underbuying happens when a lab selects a basic system that cannot detect faint targets or support documentation needs.
Before final selection, define these requirements:
- Primary application: Chemiluminescence western blot, fluorescence imaging, agarose gel documentation, protein gel imaging, or mixed workflow.
- Required sensitivity: Routine documentation, weak band detection, or ultra-low-abundance target analysis.
- Throughput: Occasional use, daily use, shared facility use, or high-throughput service work.
- Software needs: Basic image capture, analysis, reporting, raw export, user management, or compliance support.
- Operator profile: Experienced researchers, technicians, students, or multi-user core facility staff.
- Future scalability: Whether the lab may expand into additional imaging applications over the next few years.
AELAB systems should be selected based on this application map rather than a single specification. For many laboratories, the best purchasing outcome comes from matching the system to actual daily workflow rather than choosing the most advanced model by default.
Moving Forward with Confidence
Selecting a next-generation gel imaging system for high-sensitivity chemiluminescence is a decision that balances optical performance, cooling stability, software quality, workflow fit, service support, and purchasing strategy. The instrument that generates stunning images in a demo under ideal conditions may not perform the same way when the lab is busy, the substrate is aging, or the target protein is present at extremely low abundance.
By defining your minimum required detection limit, verifying cooling performance, testing realistic samples, preserving raw data, and comparing AELAB systems according to real laboratory needs, you can avoid the common trap of overpaying for unnecessary specifications or under-selecting a system that limits research quality.
For laboratories planning a 2026 upgrade, the best approach is to begin with the science, confirm the workflow, and then select the AELAB gel imaging system that supports both current applications and future laboratory growth.
FAQ
Does a higher megapixel camera guarantee better sensitivity for chemiluminescence gel imaging?
No. Sensitivity depends on signal-to-noise ratio per pixel, sensor cooling, quantum efficiency, dark current, lens transmission, and optical efficiency. A camera with larger pixels and lower noise can outperform a higher-megapixel camera in chemiluminescence imaging.
What causes background haze in chemiluminescence gel images, and how can I fix it?
Background haze often results from dust on optical surfaces, dirty trays, scratched protective windows, chamber light leaks, or unstable sensor cooling. Clean optical surfaces carefully, run a dark-frame test, and inspect the door gasket or chamber seal.
How should I prepare my lab before using a high-sensitivity gel imaging system for chemiluminescence?
Run long dark exposures to identify light leaks, standardize substrate incubation timing, use fresh ECL reagent, prevent membrane drying, and verify pixel calibration using a known-size object.
Which AELAB gel imaging system is suitable for high-sensitivity chemiluminescence analysis?
For laboratories focused on high-sensitivity chemiluminescence and low-abundance target detection, AE-GEL900 and AE-GEL600 are suitable options. For routine gel documentation and automatic workflows, AE-GEL100, AE-GEL200, and All-in-One AE-GEL systems may be more practical.
What should laboratories check before buying a gel imaging system in 2026?
Laboratories should evaluate sensor cooling, dark current, quantum efficiency, lens quality, dynamic range, raw image export, automation features, software documentation, application support, and after-sales service before selecting a gel imaging system.